
Spring Boot has revolutionized Java development by simplifying the process of building robust web applications. In this blog post, we’ll walk through creating a simple Spring Boot 3.x Web Application. This example will highlight best practices, ensure SEO optimization, and provide clear, easy-to-understand explanations.
What is Spring Boot?
Spring Boot is a powerful framework that enables developers to create stand-alone, production-grade Spring-based applications with minimal configuration. It offers features like embedded servers, auto-configuration, and starter dependencies, which streamline the development process.
Table of Contents
Prerequisites
Before we start, ensure you have the following installed:
- Java Development Kit (JDK) 17 or later
- Maven (for dependency management)
- An IDE (such as IntelliJ IDEA or Eclipse)
Setting Up the Spring Boot Application
Step 1: Create a New Spring Boot Project
You can quickly generate a Spring Boot project using the Spring Initializr:
- Select Project: Choose Maven Project.
- Select Language: Choose Java.
- Spring Boot Version: Select 3.x (latest stable version).
- Project Metadata:
- Group:
com.javadzone - Artifact:
spring-boot-web-example - Name:
spring-boot-web-example - Package Name:
com.javadzone.springbootweb
- Group:
- Add Dependencies:
- Spring Web
- Spring Boot DevTools (for automatic restarts)
- Thymeleaf (for server-side template rendering)
Click Generate to download the project zip file. Unzip it and open it in your IDE.
Step 2: Project Structure
Your project structure should look like this:
spring-boot-web-example
├── src
│   └── main
│       ├── java
│       │   └── com
│       │       └── javadzone
│       │           └── springbootweb
│       │               ├── SpringBootWebExampleApplication.java
│       │               └── controller
│       │                   └── HomeController.java
│       └── resources
│           ├── static
│           ├── templates
│           │   └── home.html
│           └── application.properties
└── pom.xml
Step 3: Create the Main Application Class
Open SpringBootWebExampleApplication.java and add the @SpringBootApplication annotation. This annotation enables auto-configuration and component scanning.
package com.javadzone.springbootweb;

import org.springframework.boot.SpringApplication;
import org.springframework.boot.autoconfigure.SpringBootApplication;

@SpringBootApplication
public class SpringBootWebExampleApplication {
    public static void main(String[] args) {
        SpringApplication.run(SpringBootWebExampleApplication.class, args);
    }
}
Step 4: Create a Controller
Next, create a new class HomeController.java in the controller package to handle web requests.
package com.javadzone.springbootweb.controller;

import org.springframework.stereotype.Controller;
import org.springframework.ui.Model;
import org.springframework.web.bind.annotation.GetMapping;

@Controller
public class HomeController {

    @GetMapping("/")
    public String home(Model model) {
        model.addAttribute("message", "Welcome to Spring Boot Web Application!");
        return "home"; // This refers to home.html in templates
    }
}
Step 5: Create a Thymeleaf Template
Create a new file named home.html in the src/main/resources/templates directory. This file will define the HTML structure for your homepage.
<!DOCTYPE html>
<html xmlns:th="http://www.thymeleaf.org">
<head>
    <meta charset="UTF-8">
    <title>Spring Boot Web Example</title>
</head>
<body>
    <h1 th:text="${message}">Welcome!</h1>
    <footer>
        <p>© 2024 Spring Boot Web Application</p>
    </footer>
</body>
</html>
Step 6: Configure Application Properties
In the application.properties file located in src/main/resources, you can configure your application settings. Here’s a simple configuration to set the server port:
server.port=8080
Step 7: Run the Application
To run the application, navigate to your project directory and use the following command:
./mvnw spring-boot:run
If you’re using Windows, use:
mvnw.cmd spring-boot:run
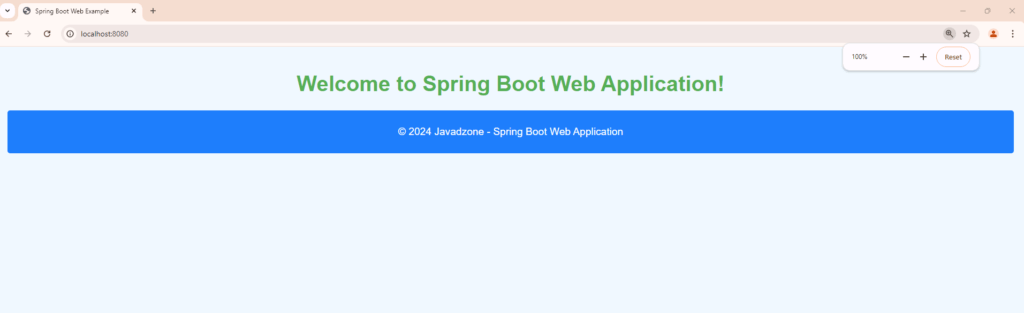
Step 8: Access the Application
Open your web browser and navigate to http://localhost:8080. You should see the message “Welcome to Spring Boot Web Application!” displayed on the page.
Best Practices
- Use @RestController for REST APIs: When creating RESTful services, use
@RestControllerinstead of@Controller. - Handle Exceptions Globally: Implement a global exception handler using
@ControllerAdviceto manage exceptions consistently. - Externalize Configuration: Keep sensitive data and environment-specific configurations outside your codebase using
application.propertiesor environment variables. - Implement Logging: Use SLF4J with Logback for logging throughout your application.
- Write Tests: Always write unit and integration tests for your components to ensure reliability.
Conclusion
Congratulations! You’ve built a simple web application using Spring Boot 3.x. This example demonstrated how easy it is to set up a Spring Boot application, handle web requests, and render HTML using Thymeleaf. With the foundation in place, you can now expand this application by adding features like databases, security, and more.