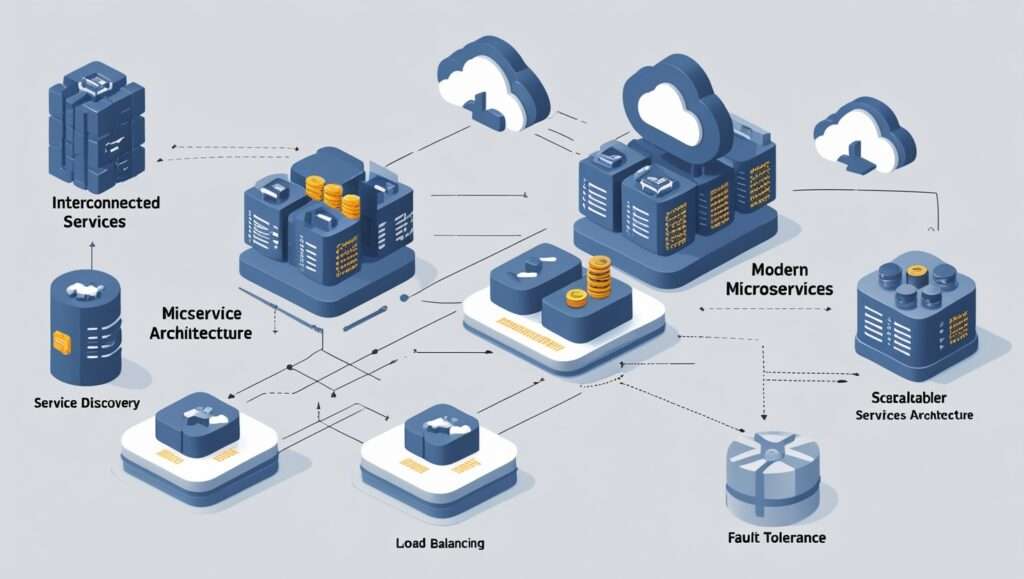
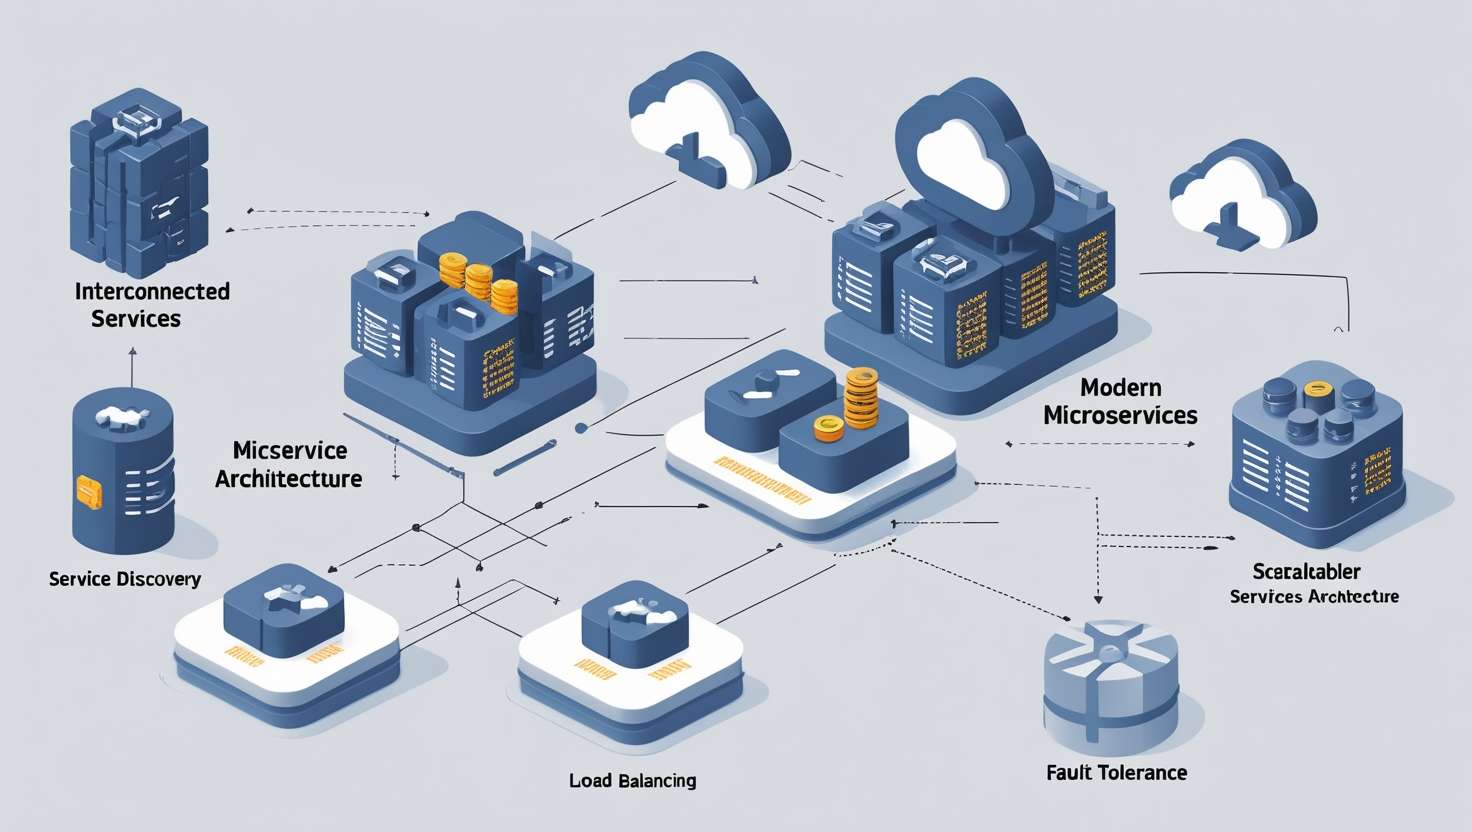
Building scalable microservices is a key goal for many modern software architectures, and Spring Boot is one of the most popular frameworks for achieving this. Whether you’re just starting with microservices or you’re an experienced developer looking to improve your skills, The Ultimate Guide to Building Scalable Microservices with Spring Boot will walk you through everything you need to know about creating scalable and fault-tolerant microservices using Spring Boot.
In this guide, we’ll explore essential concepts like service discovery, load balancing, fault tolerance, and much more. We’ll also provide practical examples and best practices to help you optimize your microservices architecture for scalability, performance, and resilience.

Why Spring Boot for Microservices?
Spring Boot has become the de facto standard for building microservices because it simplifies the development process, offering out-of-the-box solutions to common challenges in microservices architecture, such as configuration management, service discovery, and security. Here’s why Spring Boot is so popular for building scalable microservices:
- Convention over Configuration: Spring Boot reduces the boilerplate code, providing default configurations and sensible defaults.
- Embedded Servers: Spring Boot supports embedded web servers like Tomcat, Jetty, and Undertow, which makes it easier to deploy and scale microservices.
- Spring Cloud Integration: Spring Boot seamlessly integrates with Spring Cloud, which is specifically designed for building distributed systems, including features for service discovery, load balancing, and fault tolerance.
Key Concepts for Building Scalable Microservices with Spring Boot
Before we dive into the practical examples, let’s go over some of the key concepts and patterns that are crucial when building scalable microservices.
1. Service Discovery
In a microservices architecture, services need to find and communicate with each other. This is where service discovery comes in. Service discovery enables microservices to dynamically discover and register themselves with a central registry.
Spring Cloud provides several tools for service discovery, the most popular being Eureka, which allows services to register and discover each other at runtime.
2. Load Balancing
When building scalable microservices, you need to distribute traffic across multiple instances of a service. Load balancing ensures that the load is evenly distributed, avoiding any single instance from becoming overwhelmed.
Spring Cloud integrates with Ribbon (a client-side load balancer) to provide this functionality.
3. Fault Tolerance
Microservices are inherently distributed, which means that failures are inevitable. Implementing fault tolerance ensures that the system remains operational even when some parts fail. Tools like Hystrix (for circuit breaking) and Resilience4J help handle failures gracefully and maintain the health of the system.
Setting Up a Scalable Microservice with Spring Boot
Let’s walk through setting up a simple scalable microservice using Spring Boot. We will create three services: a User Service, a Product Service, and a Gateway API Service that will route requests to the respective services. We’ll implement service discovery, load balancing, and fault tolerance along the way.
Step 1: Setting Up Eureka Server for Service Discovery
First, we need to set up a Eureka Server that will manage the registration and discovery of services.
package com.example.eurekaserver;

import org.springframework.boot.SpringApplication;
import org.springframework.boot.autoconfigure.SpringBootApplication;
import org.springframework.cloud.netflix.eureka.server.EnableEurekaServer;

@SpringBootApplication
@EnableEurekaServer
public class EurekaServerApplication {

    public static void main(String[] args) {
        SpringApplication.run(EurekaServerApplication.class, args);
    }
}
application.yml (for Eureka Server)
spring:
  application:
    name: eureka-server
server:
  port: 8761
eureka:
  client:
    register-with-eureka: false
    fetch-registry: false
  server:
    enable-self-preservation: false
Step 2: Create the User Service
Now, let’s create a simple User Service that will register itself with Eureka for service discovery.
package com.example.userservice;

import org.springframework.boot.SpringApplication;
import org.springframework.boot.autoconfigure.SpringBootApplication;
import org.springframework.cloud.client.discovery.EnableDiscoveryClient;

@SpringBootApplication
@EnableDiscoveryClient
public class UserServiceApplication {

    public static void main(String[] args) {
        SpringApplication.run(UserServiceApplication.class, args);
    }
}
application.yml (for User Service)
spring:
  application:
    name: user-service
server:
  port: 8081
eureka:
  client:
    service-url:
      defaultZone: http://localhost:8761/eureka/
In the User Service, the @EnableDiscoveryClient annotation ensures that the service registers itself with the Eureka server.
Step 3: Create the Product Service
Next, let’s create a Product Service that will also register with Eureka and provide information about products.
package com.example.productservice;

import org.springframework.boot.SpringApplication;
import org.springframework.boot.autoconfigure.SpringBootApplication;
import org.springframework.cloud.client.discovery.EnableDiscoveryClient;

@SpringBootApplication
@EnableDiscoveryClient
public class ProductServiceApplication {

    public static void main(String[] args) {
        SpringApplication.run(ProductServiceApplication.class, args);
    }
}
application.yml (for Product Service)
spring:
  application:
    name: product-service
server:
  port: 8082
eureka:
  client:
    service-url:
      defaultZone: http://localhost:8761/eureka/
Step 4: Create the Gateway API Service
Finally, let’s set up the Gateway API Service, which will act as a reverse proxy to route requests to the appropriate microservices.
package com.example.gatewayapiservice;

import org.springframework.boot.SpringApplication;
import org.springframework.boot.autoconfigure.SpringBootApplication;
import org.springframework.cloud.client.discovery.EnableDiscoveryClient;
import org.springframework.cloud.gateway.config.EnableGateway;

@SpringBootApplication
@EnableDiscoveryClient
@EnableGateway
public class GatewayApiServiceApplication {

    public static void main(String[] args) {
        SpringApplication.run(GatewayApiServiceApplication.class, args);
    }
}
application.yml (for Gateway API Service)
spring:
  application:
    name: gateway-api-service
server:
  port: 8080
eureka:
  client:
    service-url:
      defaultZone: http://localhost:8761/eureka/

spring:
  cloud:
    gateway:
      routes:
        - id: user-service
          uri: lb://user-service
          predicates:
            - Path=/user/**
        - id: product-service
          uri: lb://product-service
          predicates:
            - Path=/product/**
Step 5: Enable Load Balancing and Fault Tolerance
In the Gateway API Service, we’ve used Spring Cloud Gateway with load balancing by specifying lb:// in the route URIs (i.e., lb://user-service and lb://product-service). This ensures that requests are load-balanced across multiple instances of each service.
For fault tolerance, we can implement Hystrix or Resilience4J in the next steps. We’ll add Hystrix for circuit breaking in future posts to further enhance the system’s resilience.
Conclusion
In this guide, we’ve covered how to build a simple yet scalable microservices architecture using Spring Boot, Eureka for service discovery, and Spring Cloud Gateway for load balancing. These foundational concepts will help you scale your microservices with ease, manage their interactions, and make your architecture more resilient.
As you move forward, you can enhance your microservices architecture with additional features like circuit breakers, distributed tracing, and centralized configuration management. Spring Boot and Spring Cloud offer a rich set of tools that will help you build production-ready, fault-tolerant systems.
FAQ
1. What is Spring Boot?
- Spring Boot is a framework for building Java-based applications with minimal configuration. It simplifies the setup and development of Spring applications, making it easier to build production-ready applications, including microservices.
2. Why is service discovery important in microservices?
- Service discovery is crucial because it enables microservices to dynamically locate each other without hardcoding URLs. This is essential in a dynamic environment where services are constantly scaling or changing their locations.
3. What is Spring Cloud Gateway?
- Spring Cloud Gateway is a lightweight, API Gateway built on Spring WebFlux, which provides routing and filtering capabilities for microservices, including load balancing and request forwarding.
4. How do I handle failures in microservices?
- Using patterns like circuit breaking and retry logic helps manage failures gracefully. Tools like Hystrix or Resilience4J provide robust solutions for implementing these patterns.
Thank you for reading! If you found this guide helpful and want to stay updated on more Spring Boot and microservices content, be sure to follow us for the latest tutorials and insights. Happy coding!
